Difference between revisions of "MainPage:Nuclear:KaonDetector:SealantCharacteristics"
Jump to navigation
Jump to search
| Line 21: | Line 21: | ||
| valign="top"| | | valign="top"| | ||
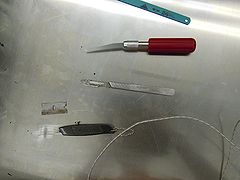
[[File:sealantRemoval04.jpg|thumb|center|240px|Auxiliary tools, like blades and scalpel, can help with the process.]] | [[File:sealantRemoval04.jpg|thumb|center|240px|Auxiliary tools, like blades and scalpel, can help with the process.]] | ||
| + | |- | ||
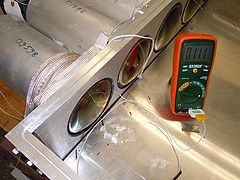
| + | | [[File:sealantRemoval05.jpg|thumb|center|240px]] | ||
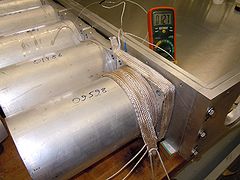
| + | | [[File:sealantRemoval06.jpg|thumb|center|240px]] | ||
|} | |} | ||
Latest revision as of 17:53, 4 October 2012
| ⇐ Back to Kaon Aerogel Detector |
| ⇐ Back to the Main_Page |
